Trezor.io/Start – The Complete Guide to Setting Up Your Trezor Wallet
In the rapidly evolving world of cryptocurrency, securing your assets is no longer an option—it’s a necessity. Trezor.io/start serves as the official onboarding portal for setting up your Trezor hardware wallet, ensuring that you can safeguard your digital assets with industry-leading security. Whether you are new to crypto or a seasoned investor, understanding the correct setup process is vital to protect your investments from online threats.
What is Trezor.io/start?
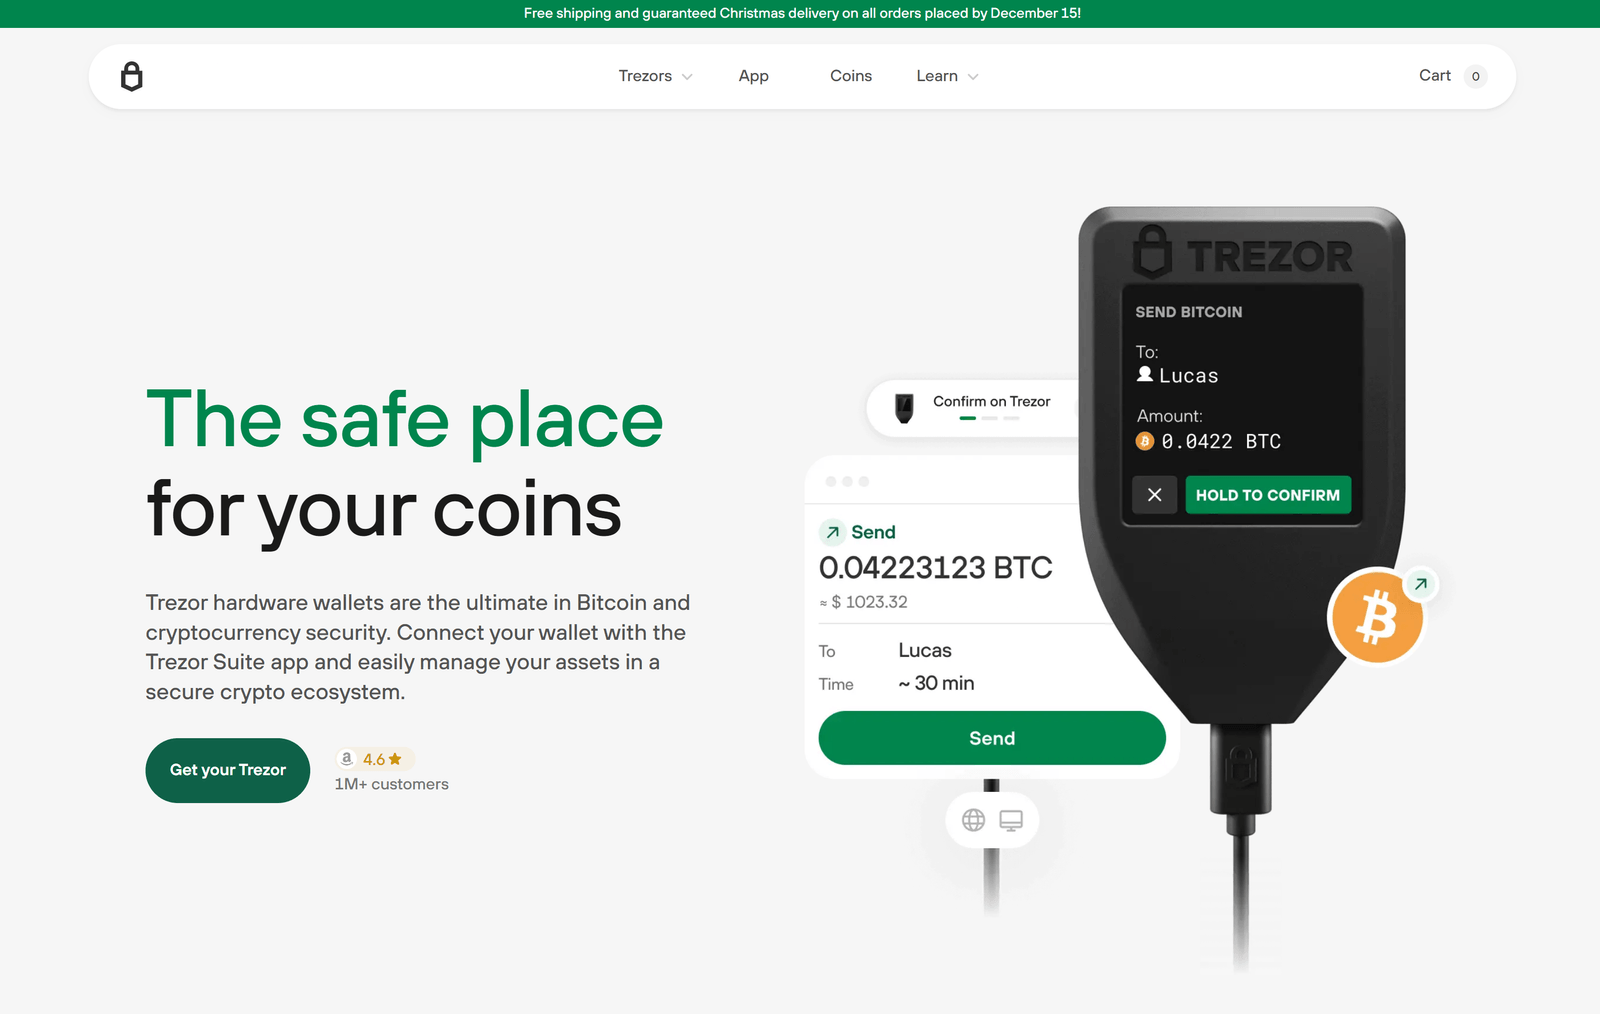
Trezor.io/start is the official webpage provided by Trezor for initializing and configuring your hardware wallet. This portal offers step-by-step guidance, ensuring that users can quickly set up their device, install the necessary firmware, and create a secure recovery seed. It is the most reliable and safe method to begin your Trezor journey, as it comes directly from the manufacturer.
Why Use Trezor for Crypto Security?
Unlike software wallets or exchange-based storage, Trezor is a hardware wallet, meaning your private keys are stored offline. This drastically reduces the risk of hacks, phishing, and malware attacks. By using Trezor.io/start, you ensure that you are interacting with authentic, verified software without exposure to counterfeit or malicious tools.
Key Advantages of Trezor:
Offline private key storage
Enhanced protection against malware and phishing
Compatibility with multiple cryptocurrencies
Simple yet robust user interface
Open-source security architecture
Step-by-Step Guide to Setting Up via Trezor.io/start
Unbox Your Device
Verify the hologram seal to ensure your Trezor has not been tampered with.
Visit the Official Website
Open your browser and type Trezor.io/start to access the official setup guide.
Connect Your Trezor
Use the supplied USB cable to connect your device to your computer or mobile device.
Install Trezor Suite
Download and install the official Trezor Suite software, which provides access to wallet management tools.
Update Firmware
Follow the prompts to install the latest firmware, ensuring maximum security and compatibility.
Create a New Wallet
Set up your wallet and carefully write down the recovery seed. Store it offline in a safe place.
Secure with a PIN
Choose a strong PIN to prevent unauthorized access to your wallet.
Start Managing Your Assets
Once configured, you can send, receive, and store cryptocurrencies securely.
Security Best Practices
Never share your recovery seed with anyone.
Avoid unofficial websites when downloading firmware or software.
Enable passphrase protection for an extra security layer.
Regularly update your Trezor firmware for improved security features.
Troubleshooting Common Issues
If your device fails to connect, try using a different USB cable or port. Always verify that you are on the official Trezor.io/start site to avoid phishing. For lost PINs or seed phrases, recovery is only possible if you have your backup seed stored securely.
Conclusion
In an era where cyber threats are evolving daily, Trezor.io/start is your gateway to a safe and secure crypto experience. By following the official setup process, you gain peace of mind knowing your assets are protected by one of the most trusted names in crypto security. With its intuitive interface, robust encryption, and offline storage, Trezor empowers you to take full control of your digital wealth.